Building Interactive SVGs in a Flash
2023-08-06
Creating interactive vector graphics could be a valuable addition to your front-end design. The real-life example I have been working on is an interactive product builder, so the customer can select areas of the product and change the color based on provided materials. So, it becomes a kind of paint-by-numbers interactive designer, that uses accessible approaches, and minimal javascript and SVG code to keep performance high. There are many things one could do by manipulating SVG because every part of it is an element of the DOM, and it is straightforward to set CSS classes for paths in Inkscape. I am going to keep it simple and just adjust the fill color, but it is possible to do not only any CSS manipulation like filters but SVG-specific attributes like fill-opacity stroke-width and transform.
I don’t want to publish anything about the current project until it is a public feature. I also think tracing images is relaxing, so I will start something new today and document the process. Recently I learned about the 1997 Justice League of America movie, so let’s trace Kenny Johnston’s Flash.
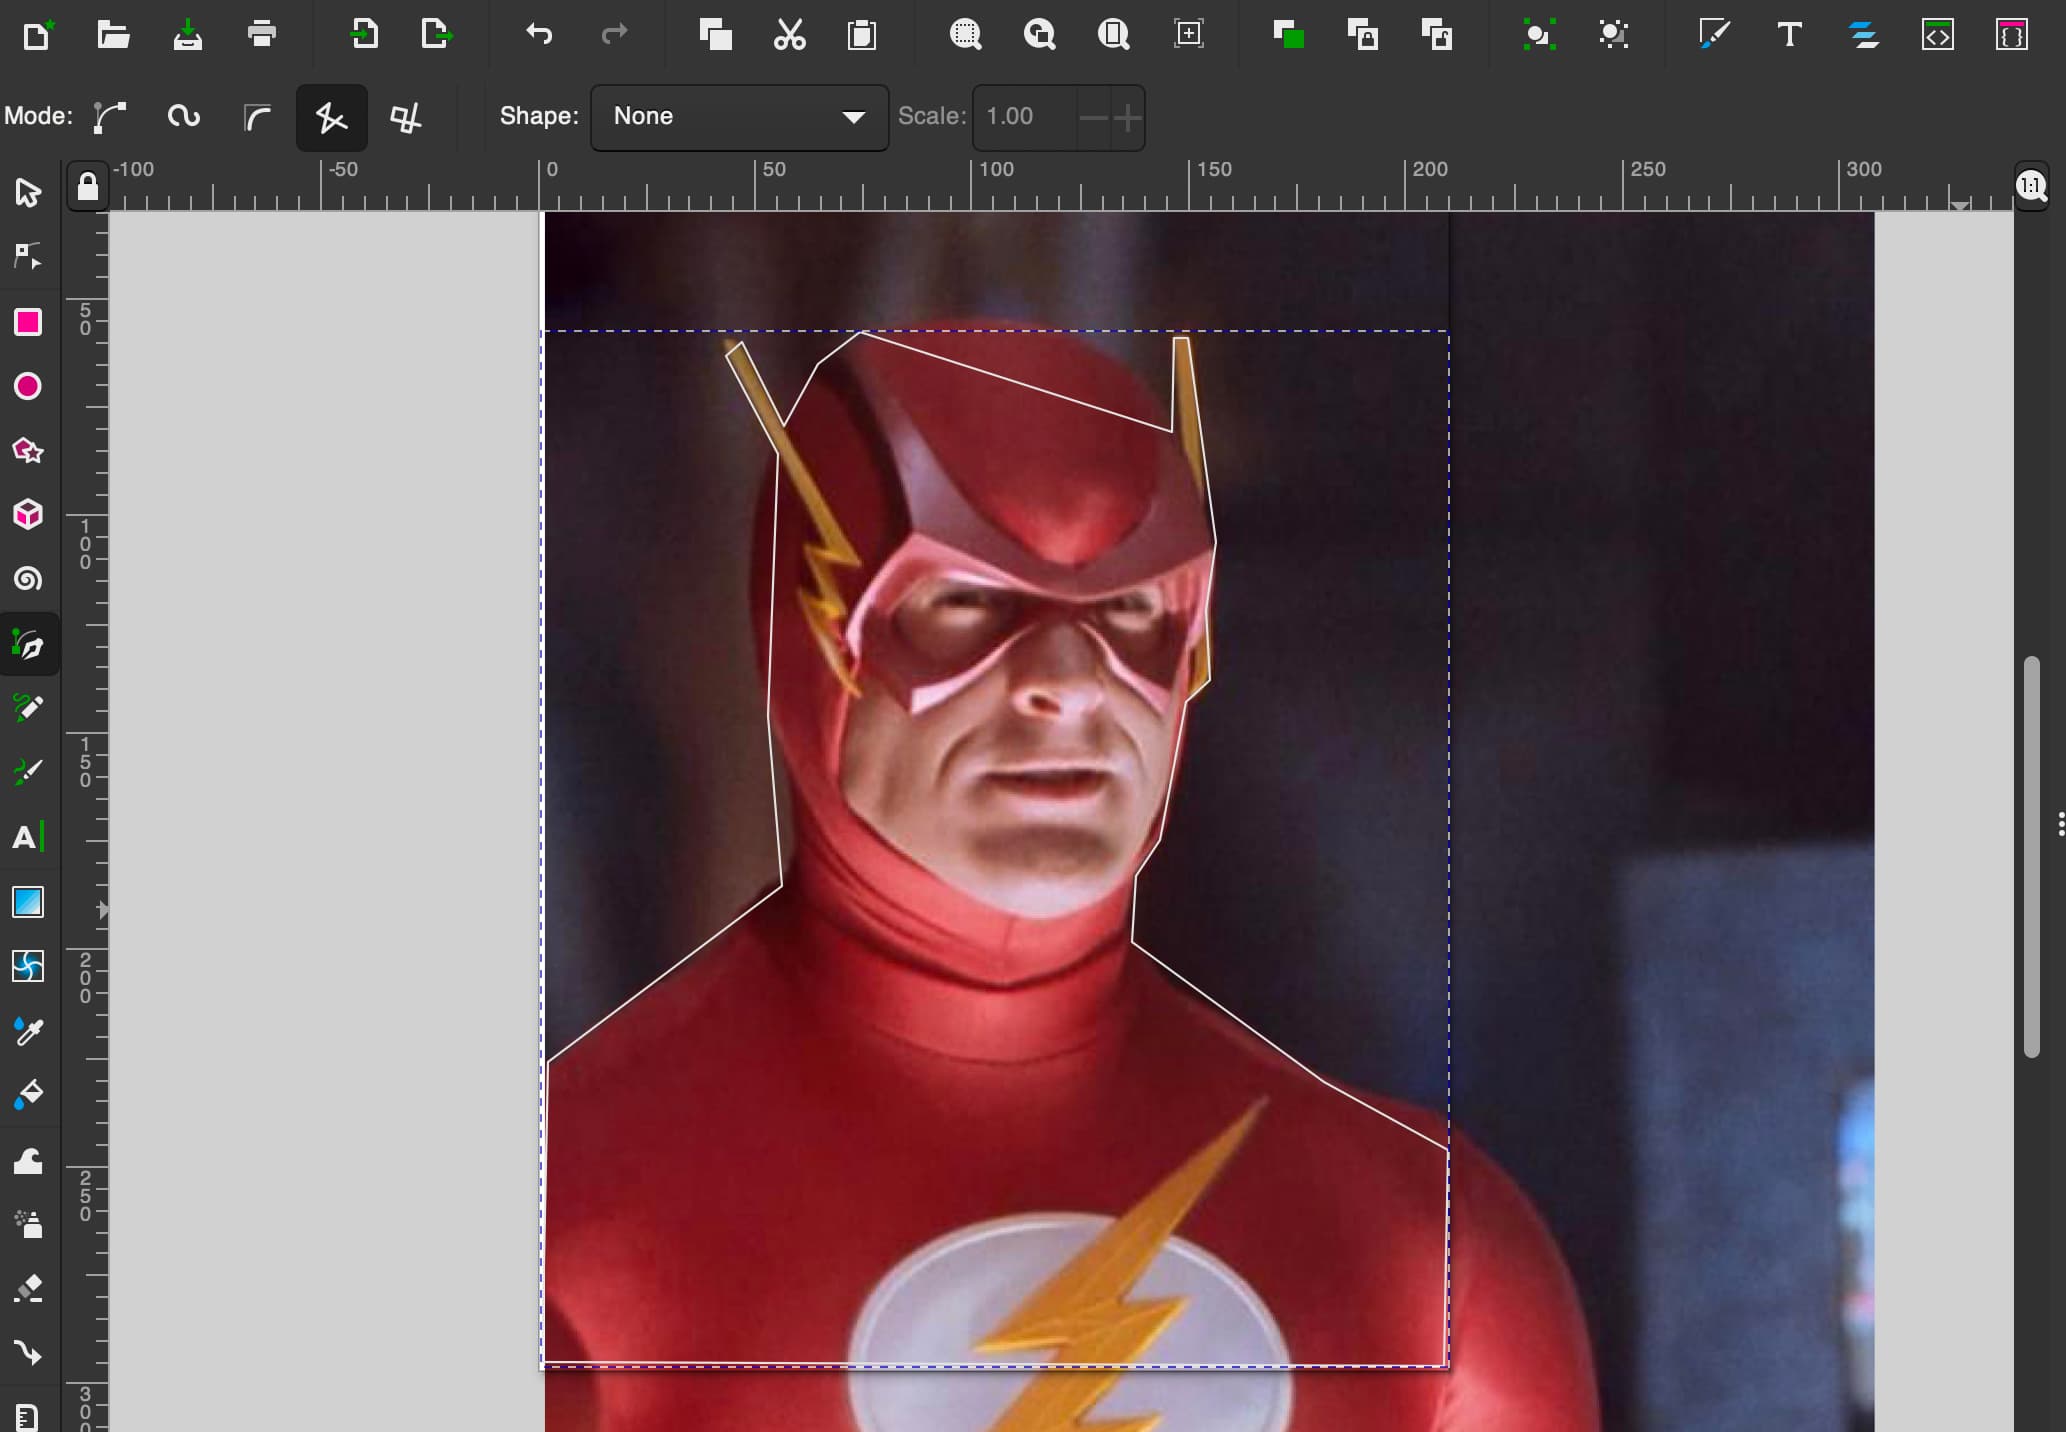
I like to start by just making a straight-line outline with the bezier tool. You’ll notice that a lot of the lines aren’t close to the actual curve of the face and shoulders. I fix that next with the node tool by selecting the line segment and dragging it into place.
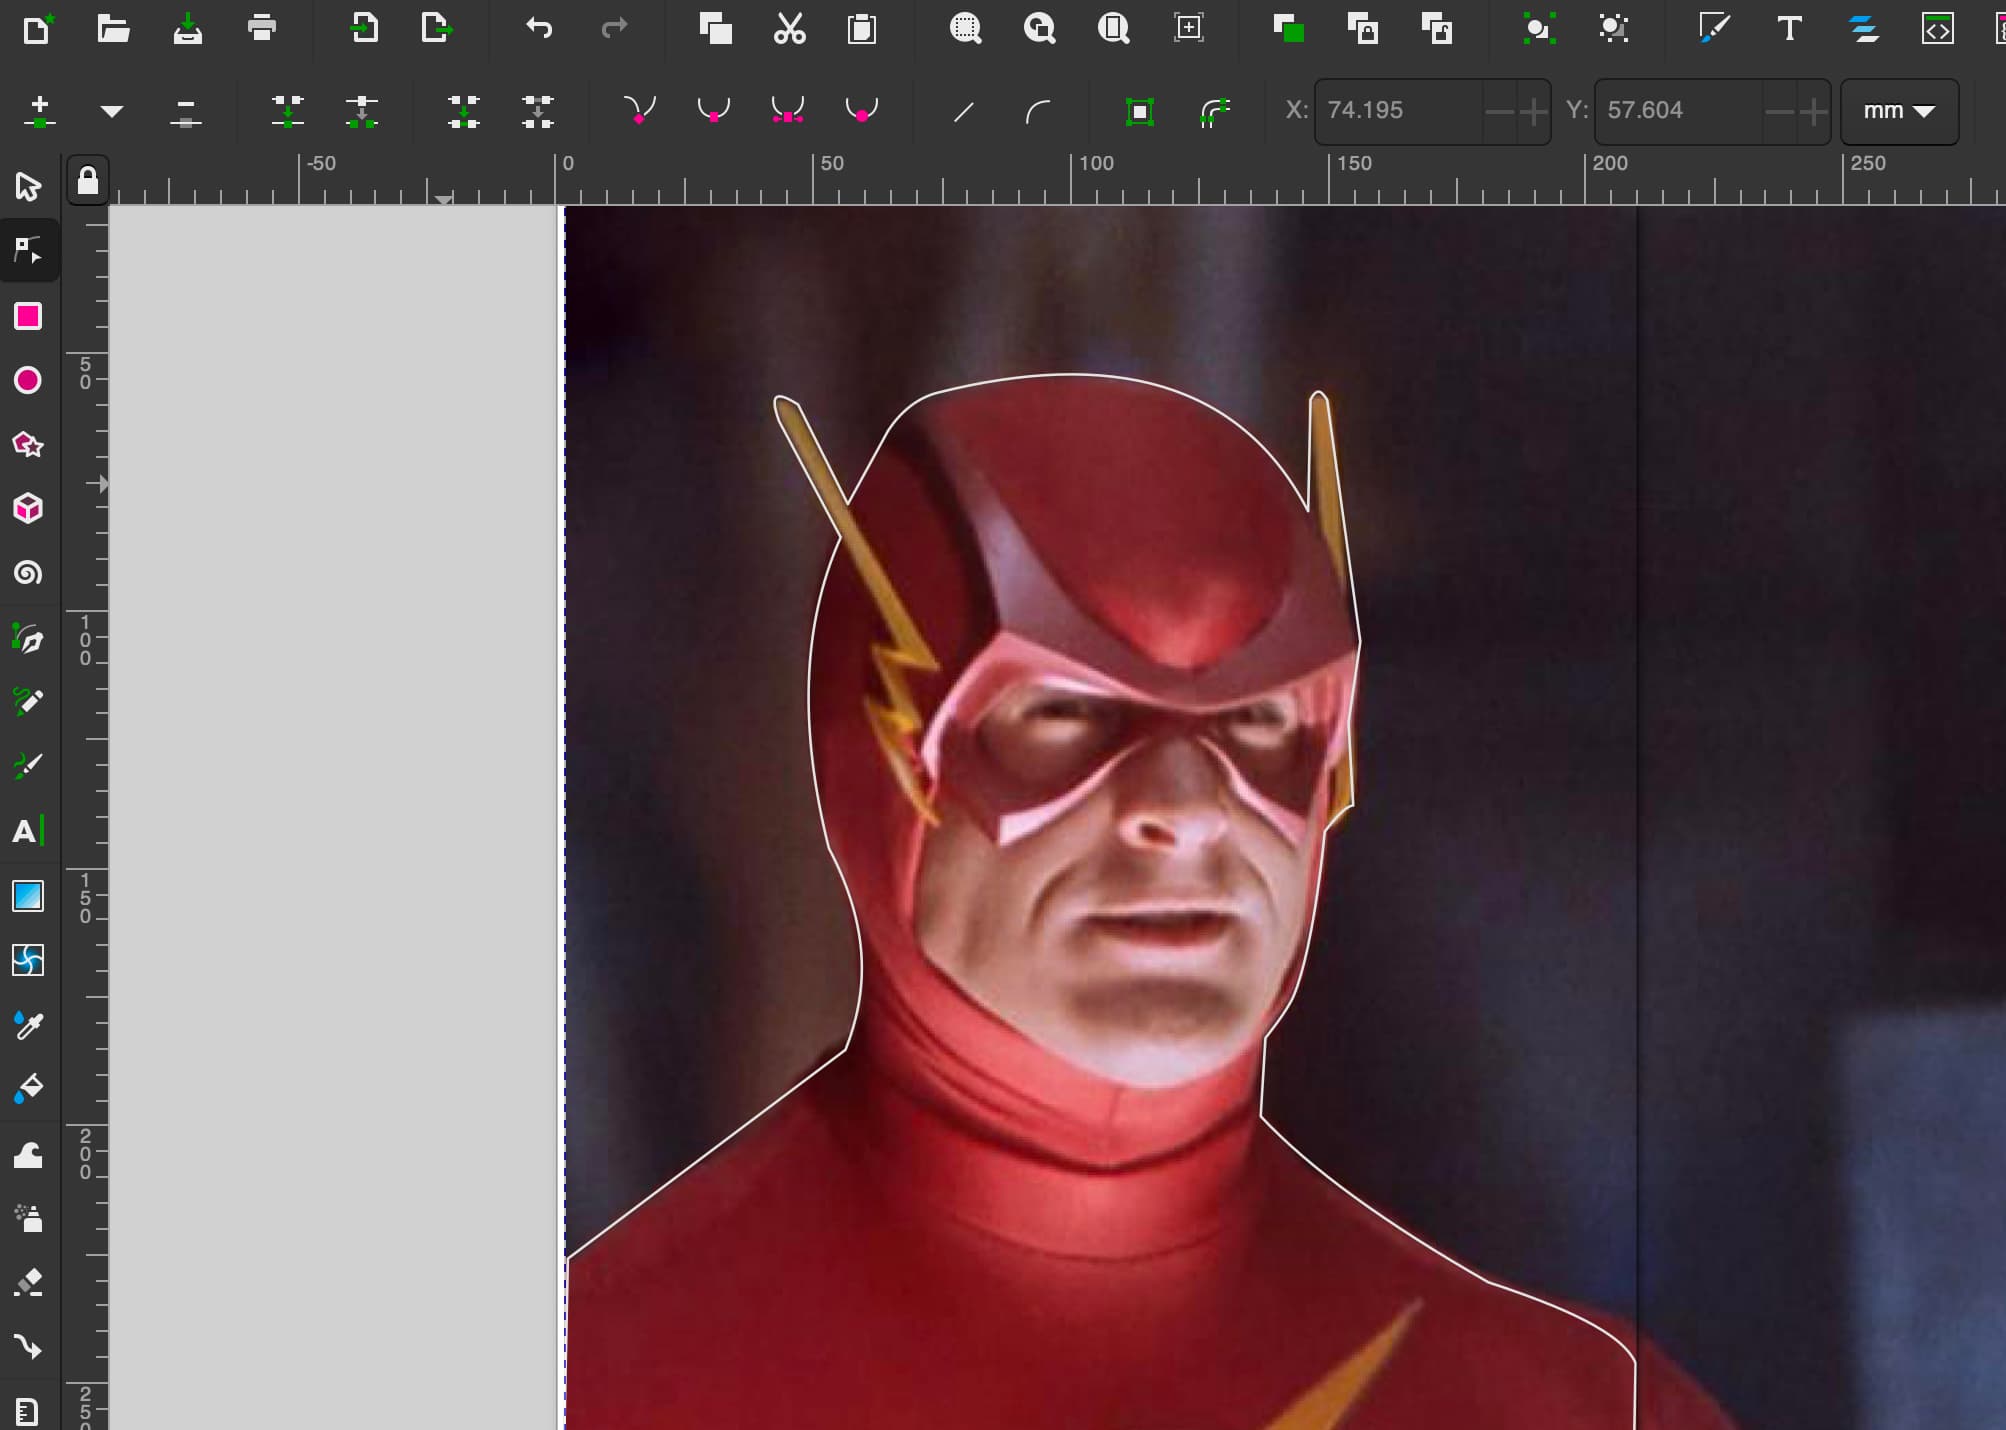
From this point on, I lean on the snapping tool most of the time because it makes it very easy to line up new shapes on new layers with nodes and paths already made. I do turn it off if there is a tight spot where Inkscape wants to snap to every nearby handle.
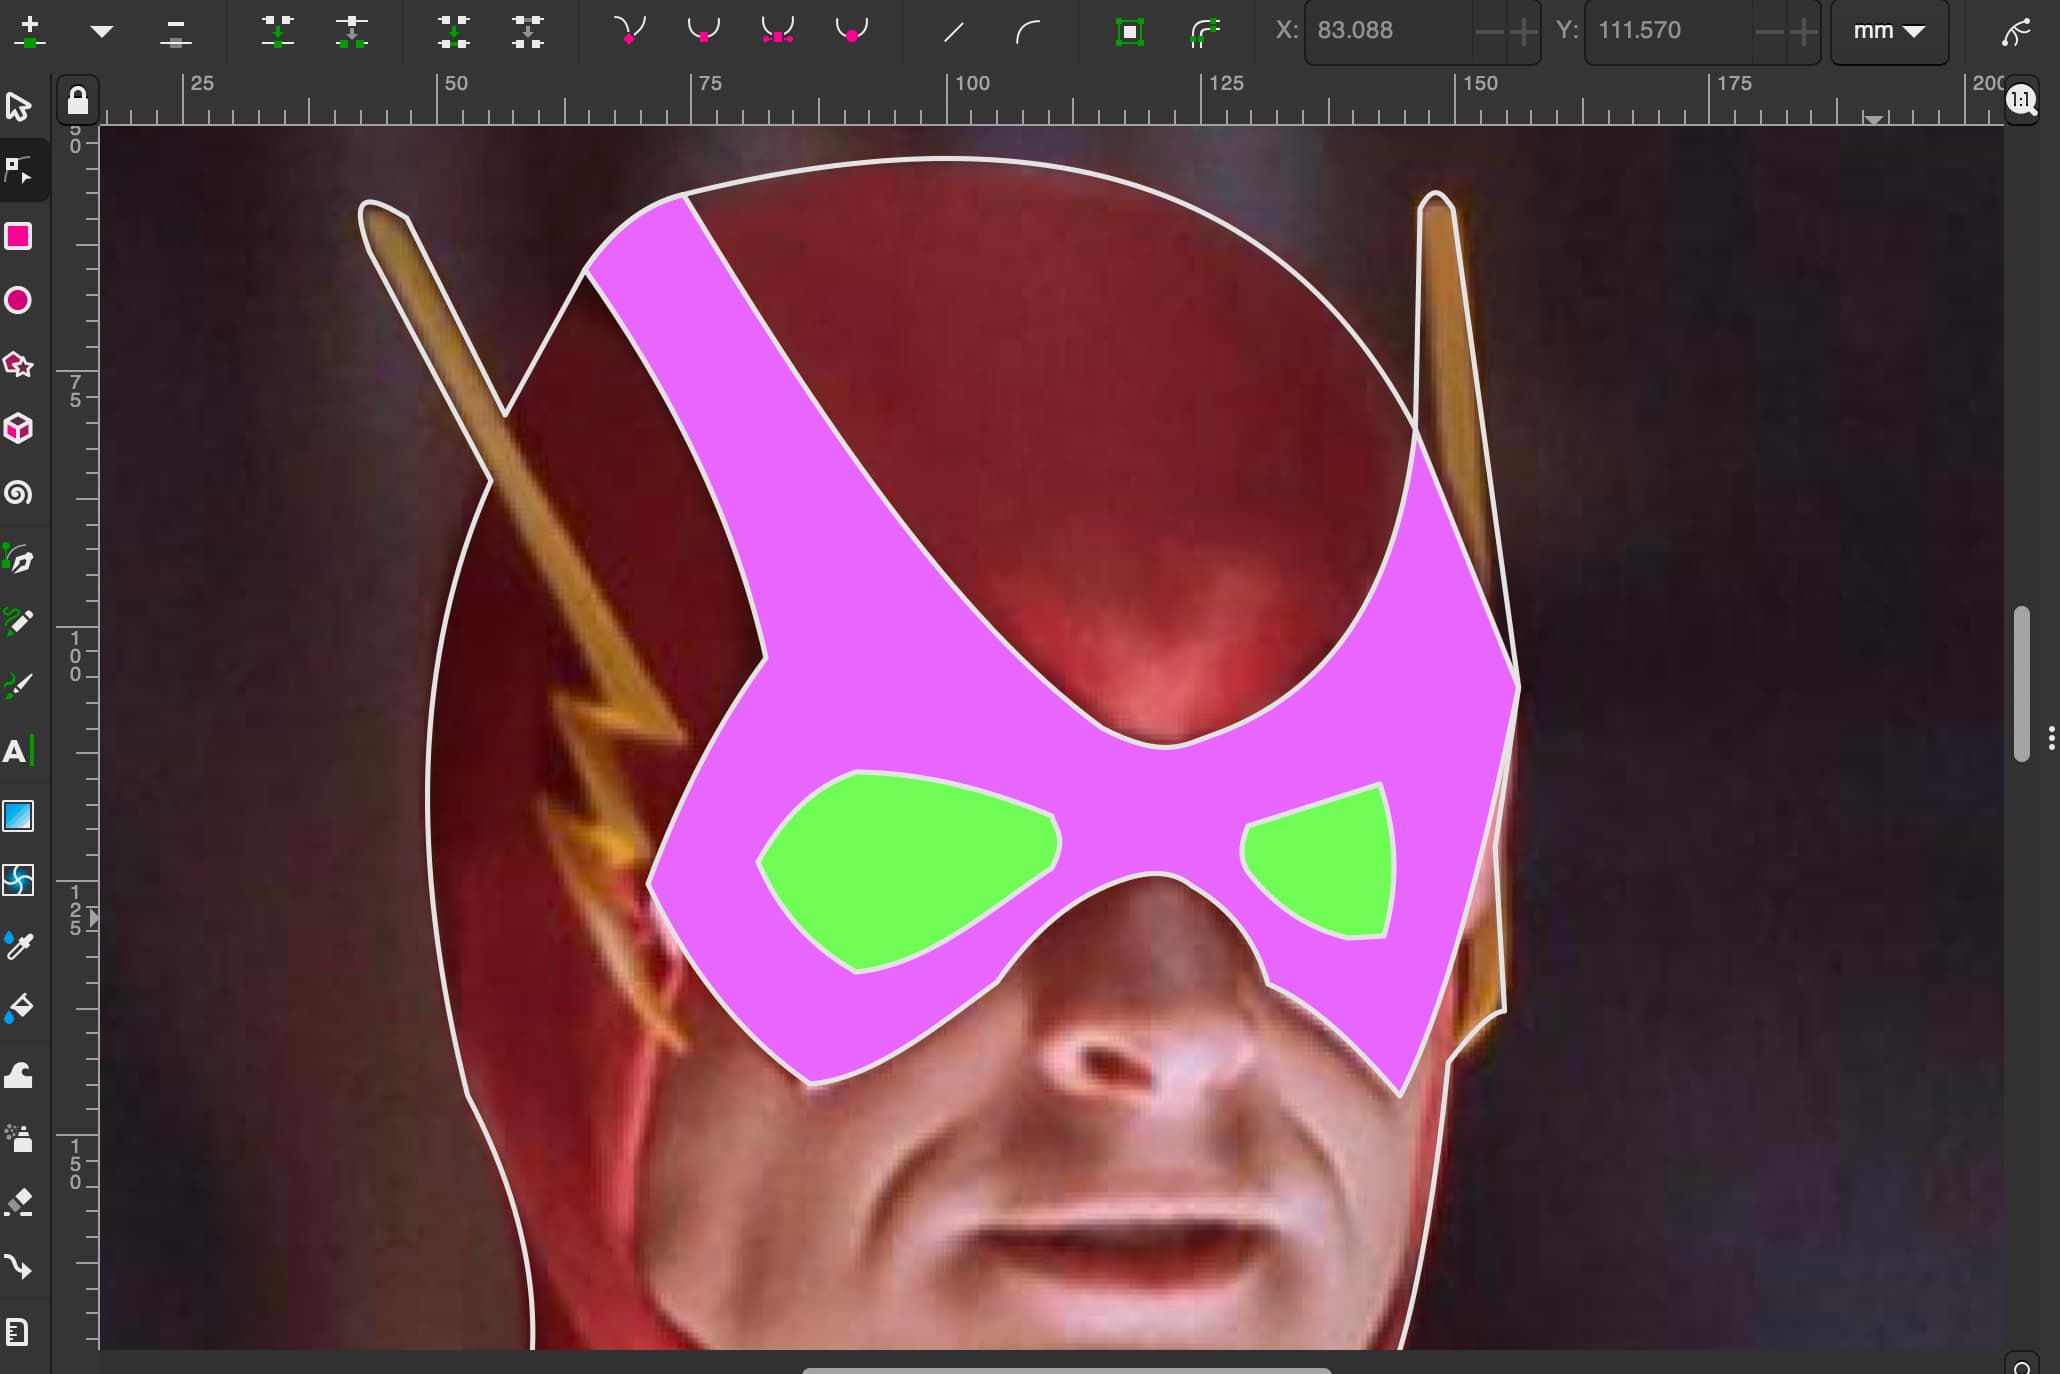
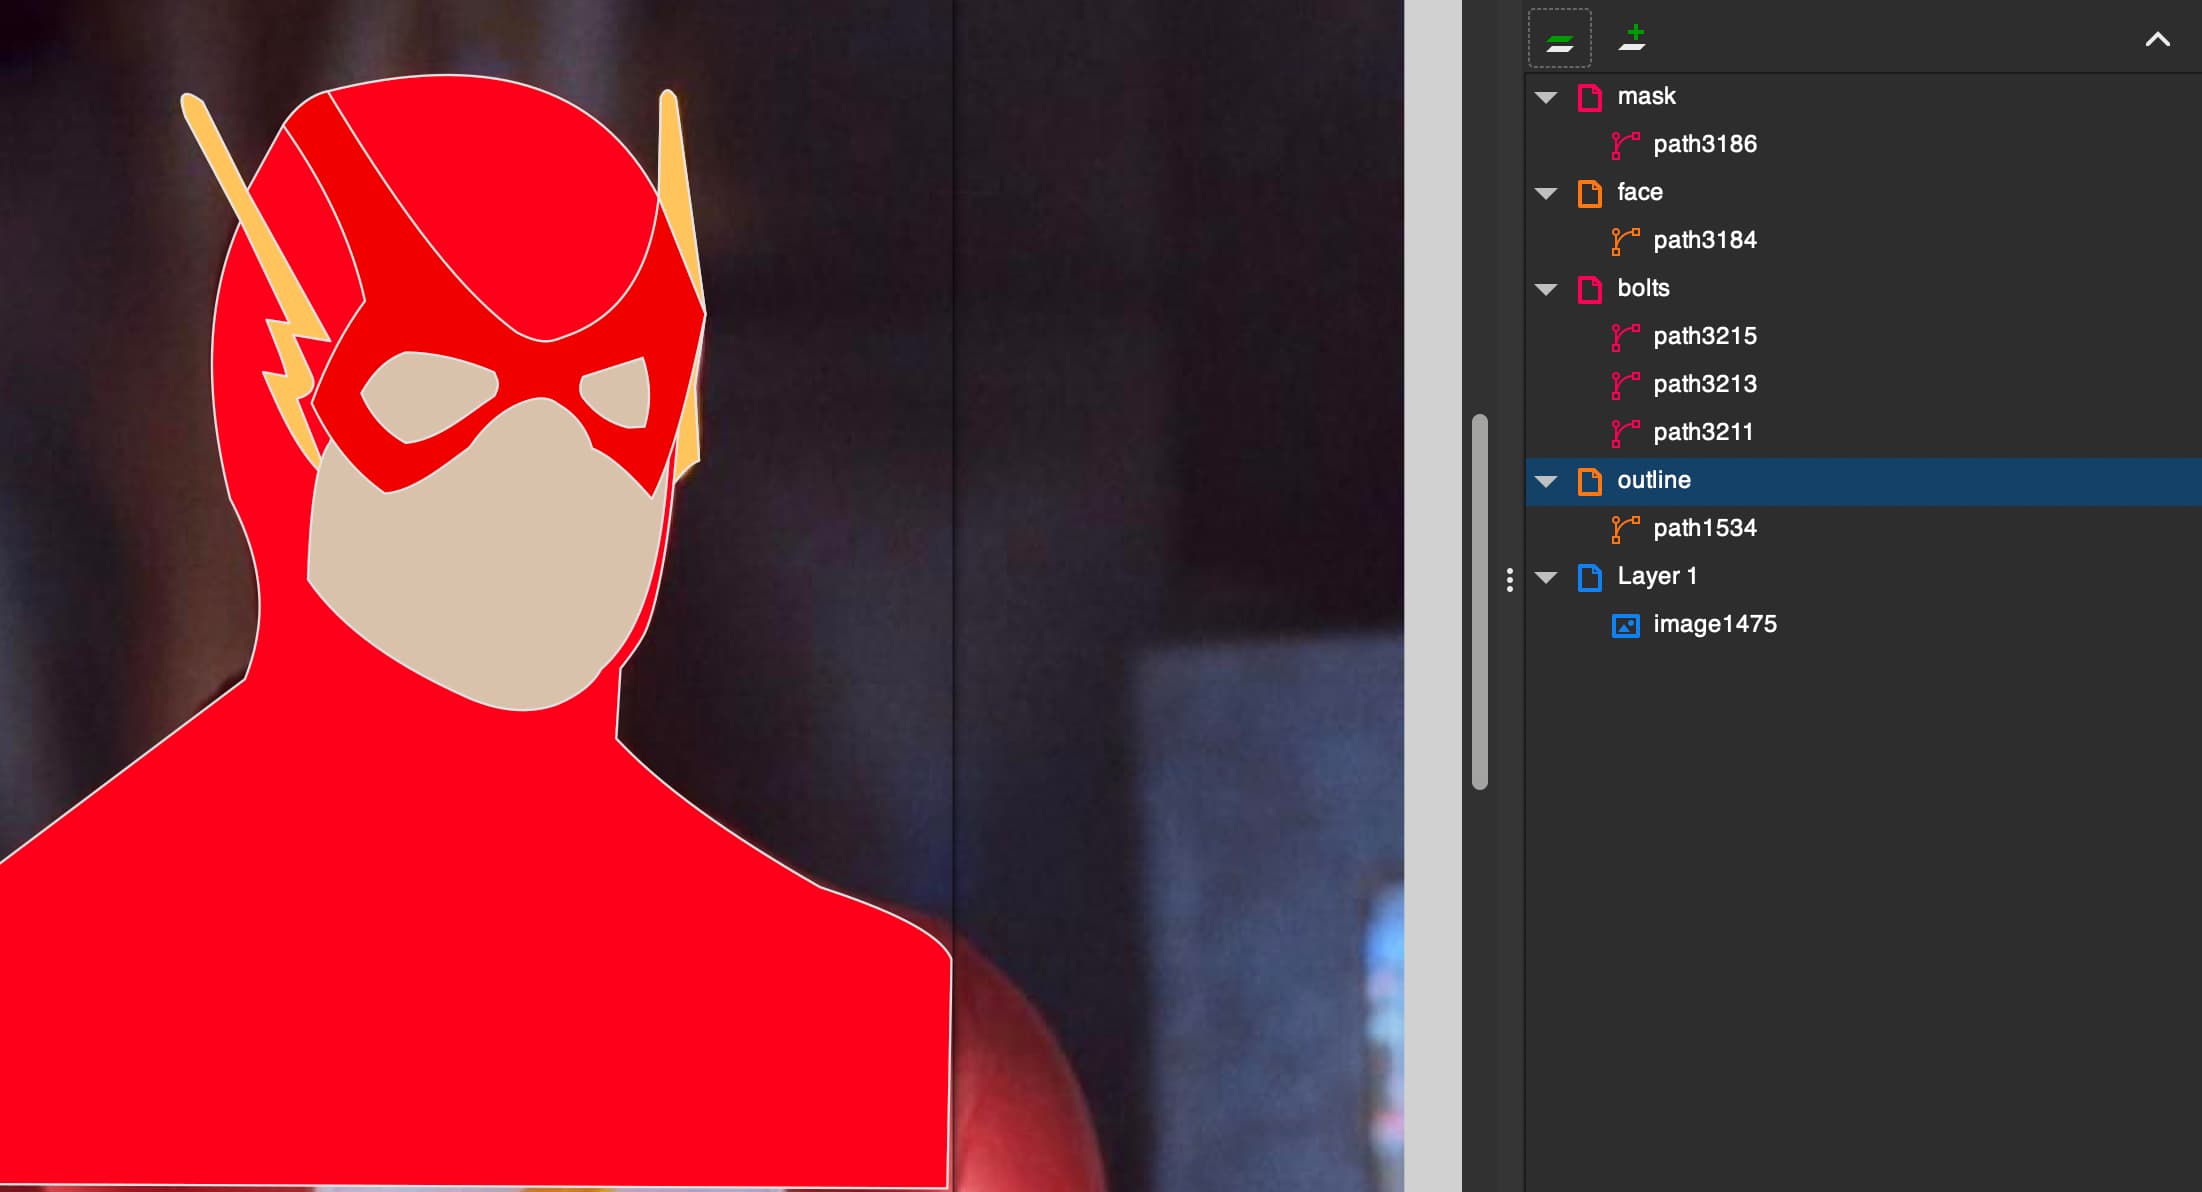
The mask was a good exercise in technique, drawing the outline, then the inner paths in a different fill, so the next part is easy to see. In this example, I wanted the eyes on top to cut out of the mask. Then select both paths and use the difference tool. This is just to utilize layers, so we aren’t tracing the path of the mask for the mask fill and again for the face layer.
Here I was just making sure my layers were looking alright so far. I use high saturation colors for this so any big mistake is very visible.
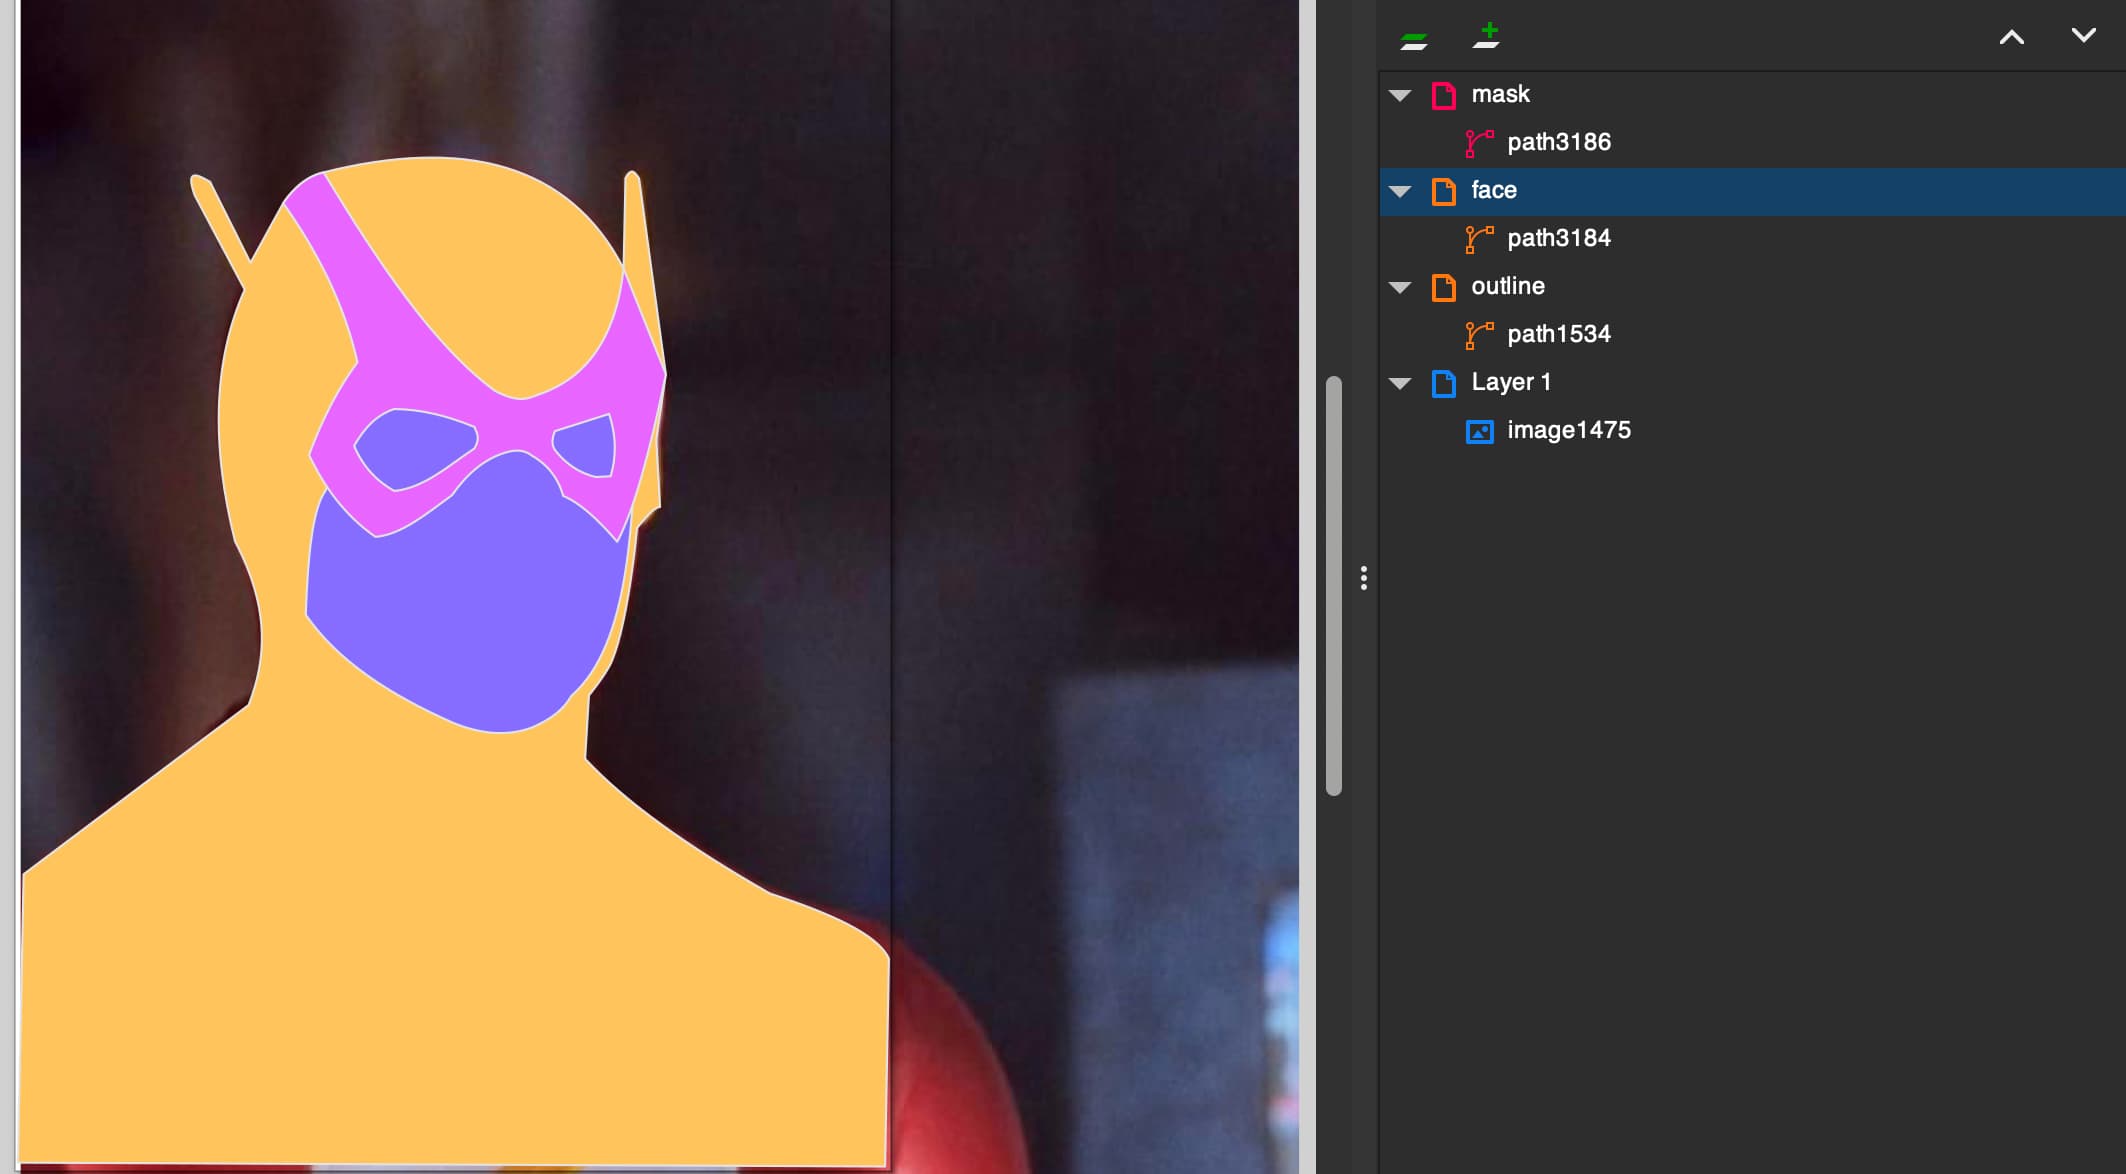
Just continue the course adding new layers of color and joining like colored paths, so they will be easier to assign to a CSS class later.
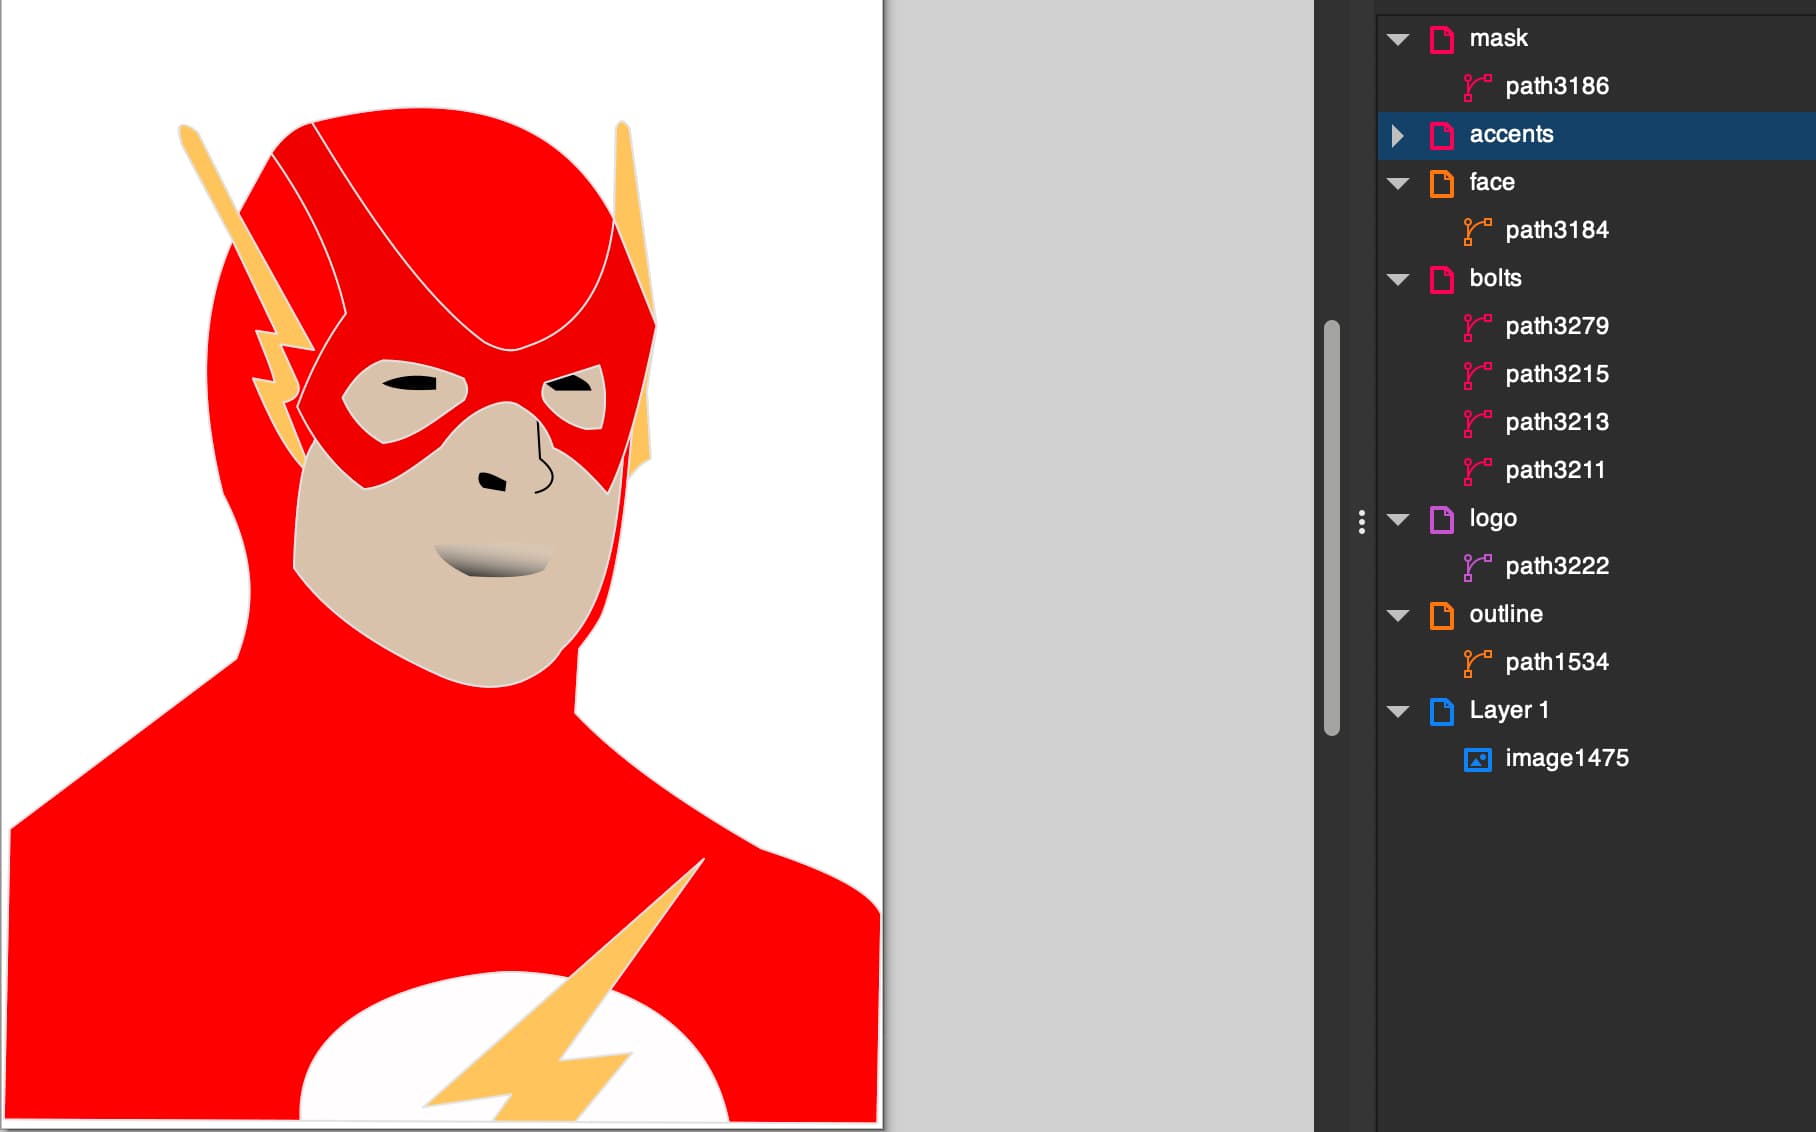
With all the dynamic paths done, I added some dark notes for the eyes nose and mouth. I think it just adds some character and shows there is supposed to be a little perspective.
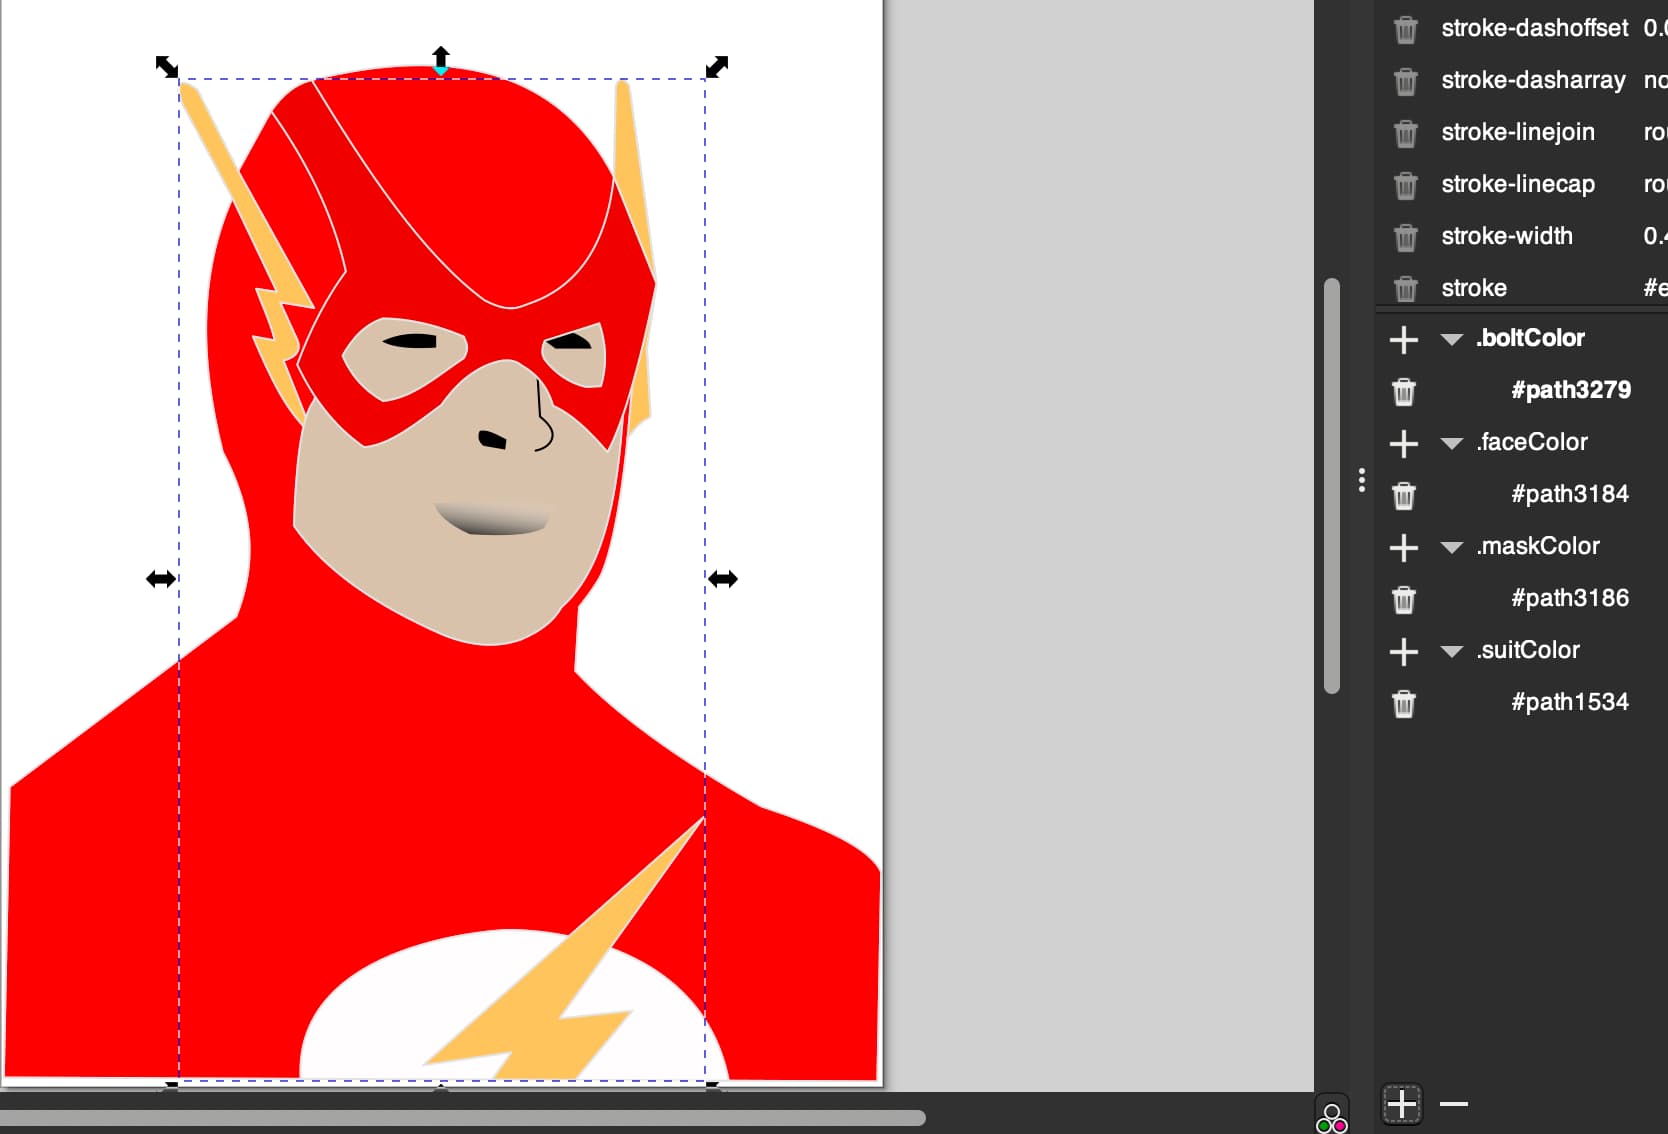
Now if you open the Selectors and CSS pane and use the regular select tool to select a path. Then the plus button on the bottom of the CSS pane, and you’re prompted to name your class.
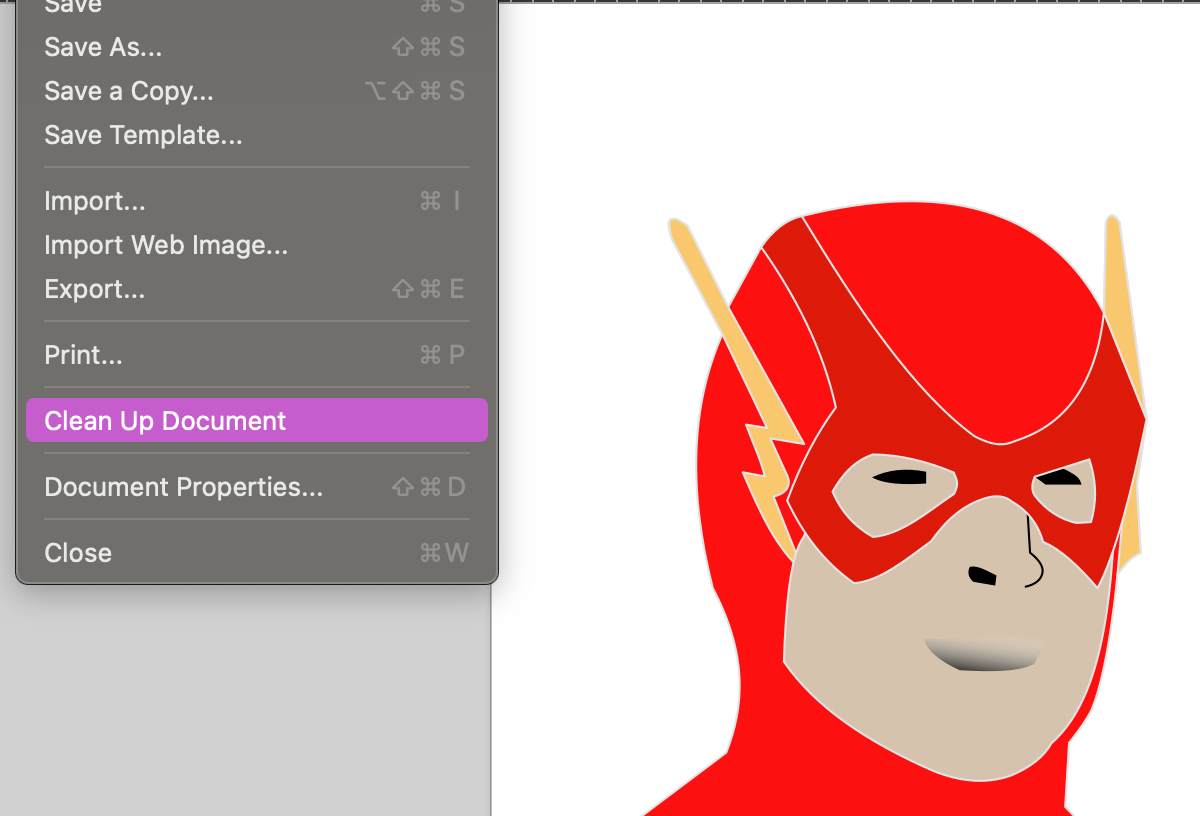
The final steps of the Artistic side are just some clean-up. Remove the image from your layers tree, get everything just the way you want it, and use the clean-up document command to remove any excess data from the SVG document. Then export it as plain SVG and make a copy of it so we can start manipulating the structure.
So, as I was sketching layers I was combining any like color to a single path. That way, not only would it be easier to assign a class to “many paths” but it allows you to wrap the path in a single anchor tag. Kind of surprising to me was that SVG is just an extension of XML basically, and if you include the whole SVG tag in an HTML document every tag is just another element in the DOM.
You’re probably wondering how or why an anchor tag is the solution here. Well, I really try to keep to best practices when it comes to accessibility and an onclick event is not inherently accessible, then you have to write a keyboard event that also triggers the same function, worry about where the focus is. An anchor tag is bulletproof, and you can call any function with href="javascript: functionName(param);"
That is exactly what I do in the next step, I’ve included just one path, so you get the idea. Also, anyone is welcome to download the final product and fork it, modify it whatever, just tag me so I can see it.
<a href="javascript: selectBody(3)"><g
     inkscape:groupmode="layer"
     id="layer3"
     inkscape:label="face"
     style="display:inline;fill:#836ef9;fill-opacity:1;stroke:none"
     transform="translate(-0.67167171,-53.812535)"><path
       style="display:inline;fill:#d5c3ae;fill-opacity:1;stroke:none;stroke-width:0.499999;stroke-linecap:round;stroke-linejoin:round;stroke-dasharray:none;stroke-dashoffset:0.0188976;stroke-opacity:1"
       d="m 69.927866,163.62335 c 7.496201,10.93334 20.034779,19.17741 35.373064,25.92831 6.21475,2.51676 12.4295,3.3667 18.64425,1.17856 4.82094,-2.016 7.94633,-4.59718 9.6249,-7.66064 14.12814,-12.35308 14.86834,-41.69854 15.71413,-70.91 l -66.195764,-0.58928 -8.446343,22.39263 c -3.087265,4.12657 -4.23095,15.63874 -4.714237,29.66042 z"
       id="path3184"
       sodipodi:nodetypes="cccccccc"
       class="faceColor" /></g></a>
You may have noticed I am passing a number to that function, that is acting as an array index or an enumeration whatever mental model helps you. In this case, we have 5 paths that we are going to wrap in anchor tags and reference in our functions, so let’s start the housekeeping for the script.
<script>
let bodies = [document.getElementsByClassName('suitColor')[0], document.getElementsByClassName('circleColor')[0], document.getElementsByClassName('boltColor')[0], document.getElementsByClassName('faceColor')[0], document.getElementsByClassName('maskColor')[0]];
let selected = bodies[0];

function selectBody(index){
selected = bodies[index];
}

function changeColor(hexColor){
selected.style = `fill: ${hexColor}`;
}
</script>
Generally using global variables are not the best practice, but since this isn’t a very involved application, I’m keeping it simple. So, now all that’s left is making a pallete of colors for the user to select. That’s what the changeColor is going to do for us.
<div>
<a style="background-color: #ffffff; color: black;" href="javascript: changeColor('#ffffff')">White</a>
<a style="background-color: #000000" href="javascript: changeColor('#000000')">Black</a>
<a style="background-color: #ff0000" href="javascript: changeColor('#ff0000')">Red</a>
<a style="background-color: #00ff00" href="javascript: changeColor('#00ff00')">Green</a>
<a style="background-color: #0000ff" href="javascript: changeColor('#0000ff')">Blue</a>
</div>
This gives us a simple useable demo, obviously you can expand the pallete from there and spruce up the styling.
Comments